June 5, 2021
In this post I show you how to set up and use the free Visual Studio Code editor with OpendTect for interactive computation using Python Jupyter Notebooks. If you have installed the OpendTect Machine Learning Python environments you can create and edit Python Jupyter Notebooks using Visual Studio Code without modifying the installed environment provided VS Code is run from within OpendTect. The approach described in this post might assist users in strictly controlled IT settings get up and running using Jupyter Notebooks.
Installing Visual Studio Code
VS Code should be available in the package repositories of all the major Linux distributions so just install it like you would any other application. Alternatively the VS Code Download page provides a tar.gz download for 64 bit Linux that can be copied into a users home folder for those situations where IT settings prevent a global software install.
For Windows go to the VS Code Download page and download the package of choice. There are 3 options:
- User installer (software ends up in “C:\users{username}\AppData\Local\Programs\Microsoft VS Code”, recommended way)
- System installer (software ends up in “C:\Program Files”, requires Administrator privileges)
- .zip (you unpack the zip file anywhere even on a usb stick)
Once installed, start it up (find the executable file call “code” in the application folder and run it from a console or click/double click on it from your file manager/explorer) and add the following extensions:
- Python extension for Visual Studio Code
- Jupyter Extension for Visual Studio Code
Selecting Visual Studio Code as the OpendTect IDE
Open the OpendTect Python Settings dialog (Utilities|Installation|Python Settings menu)
OpendTect Python Settings Dialog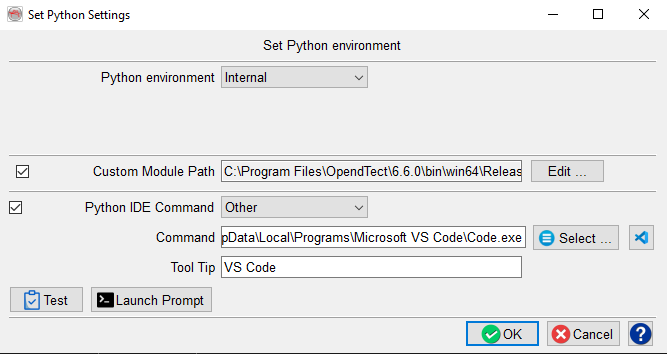
- For the Python IDE select “Other”
- Use the File Selector to locate the executable file called “code” in the VS Code application folder
- Use the icon button to set the location of an icon for the application (normally in the resources/app/resources/(linux|win32) subfolder of the VS Code installation)
- Set a tooltip message, eg “VS Code”
- Press OK
This will add an icon to the OpendTect toolbar and a new menu item to the “Utilities|User Commands” menu to start Visual Studio Code. Starting VS Code from within OpendTect ensures environment settings are compatible with the Python environment selected in the OpendTect Python Settings dialog.
OpendTect After Adding VS Code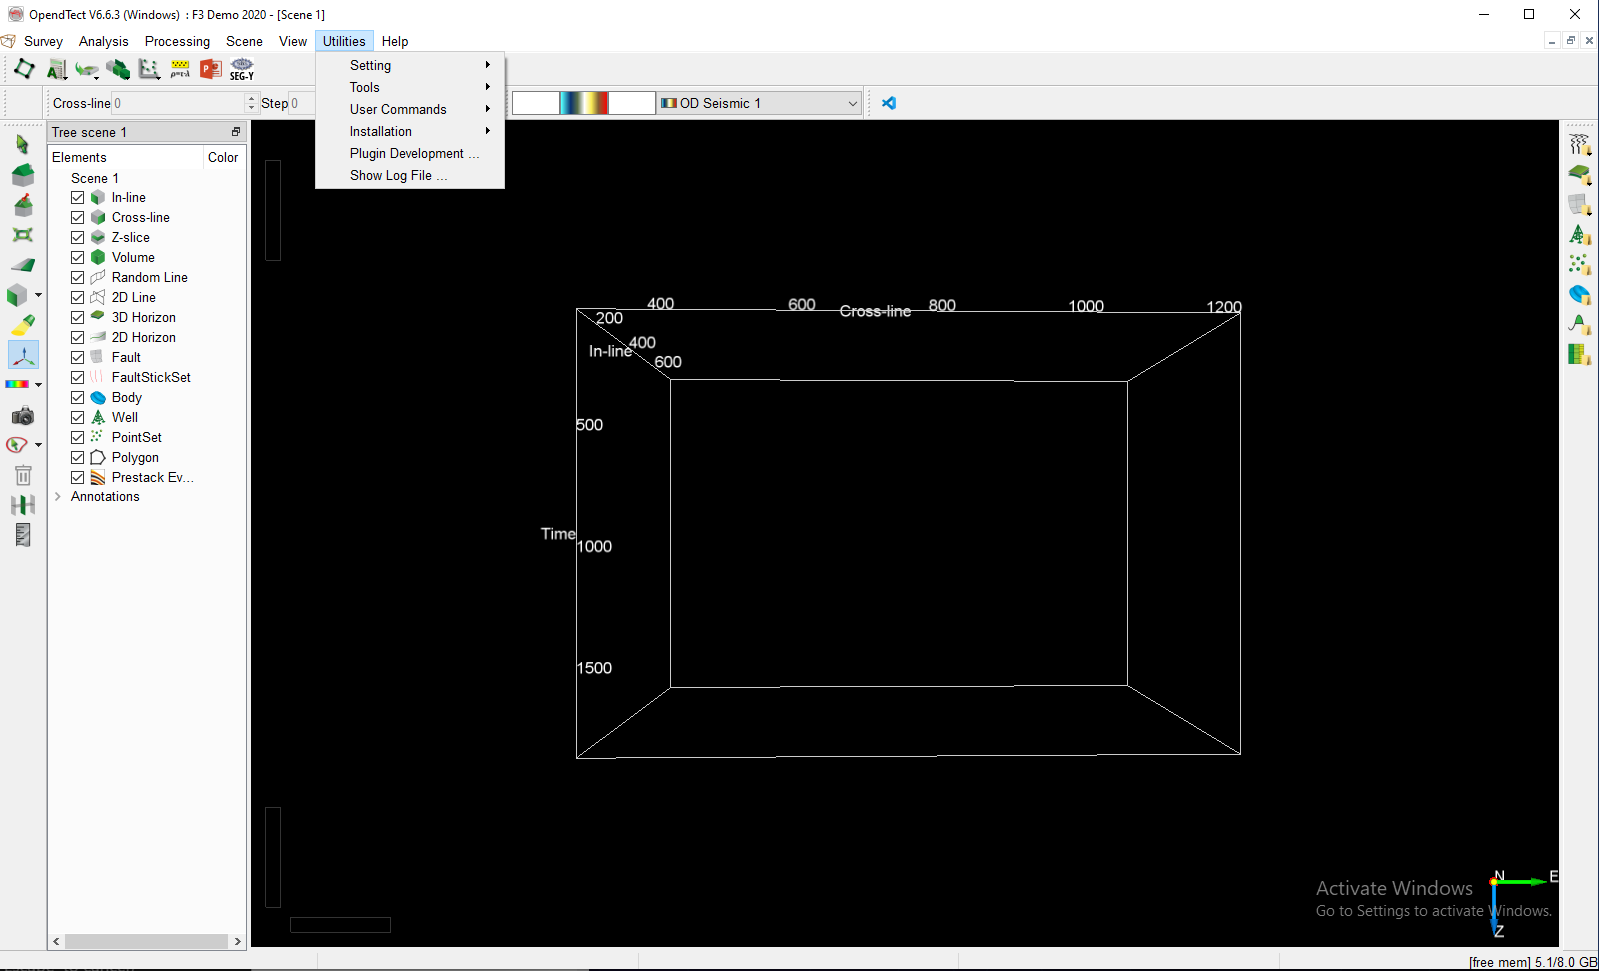
Using Visual Studio Code
With these steps completed it should be possible to start VS Code from OpendTect and open a new blank Jupyter notebook by running
the Jupyter: Create Blank New Jupyter Notebook command from the VS Code Command Palette (Ctrl+Shift+P). This notebook will use
the Python environment selected in the OpendTect Python Settings dialog.
New Jupyter Notebook in VS Code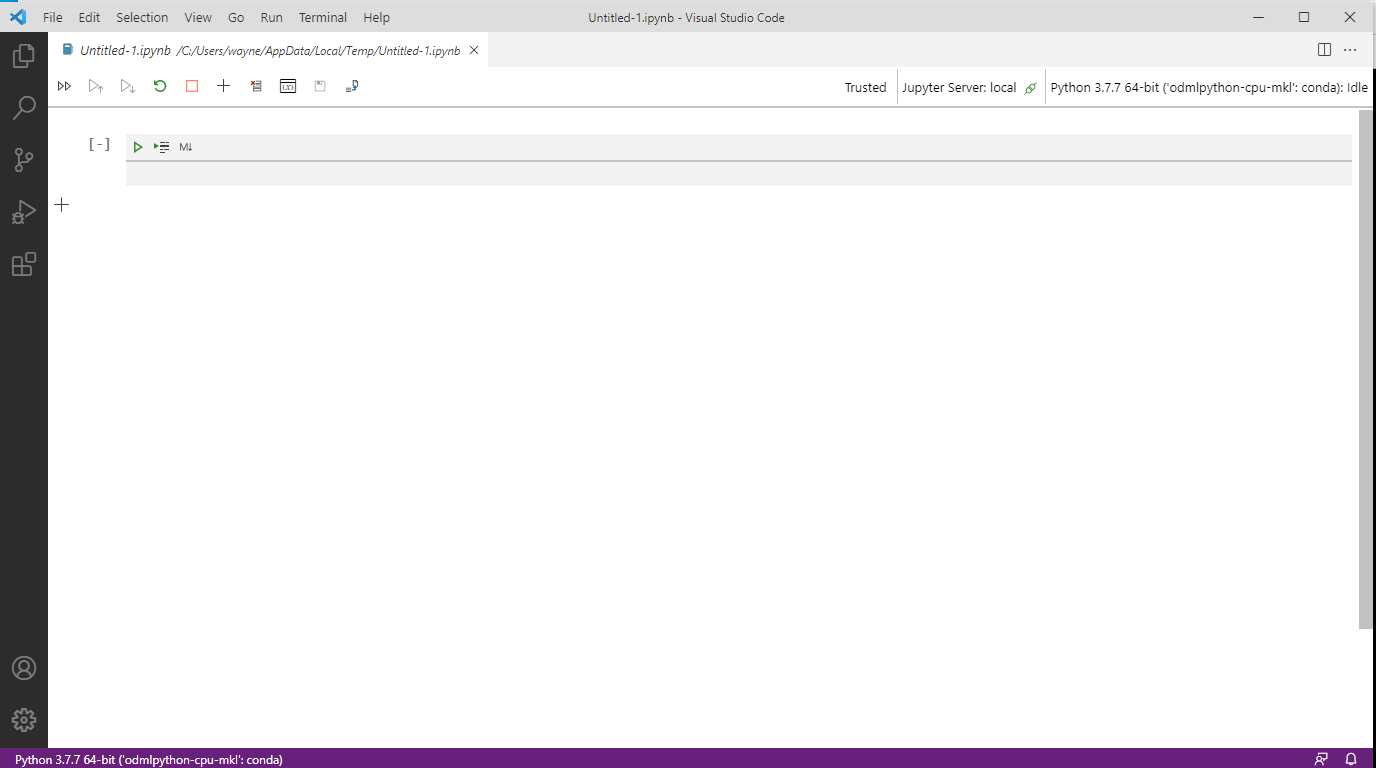
To find out more about using VS Code with Jupyter Notebooks check out the documentation:
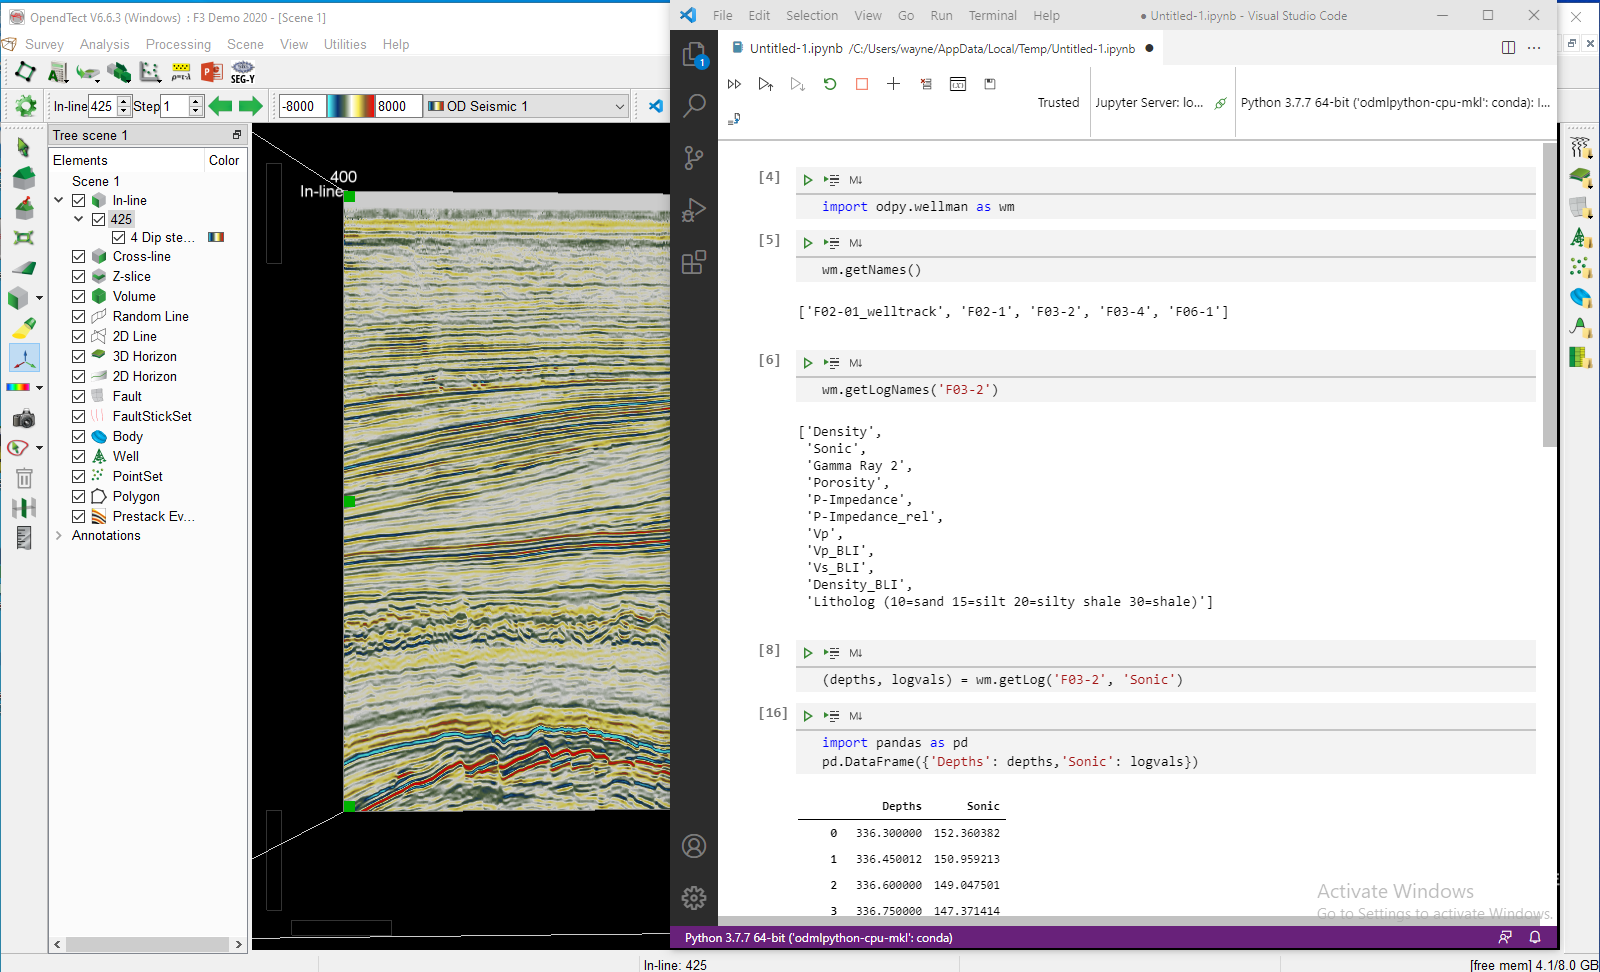
Exploring OpendTect Well Data in a VS Code Notebook